
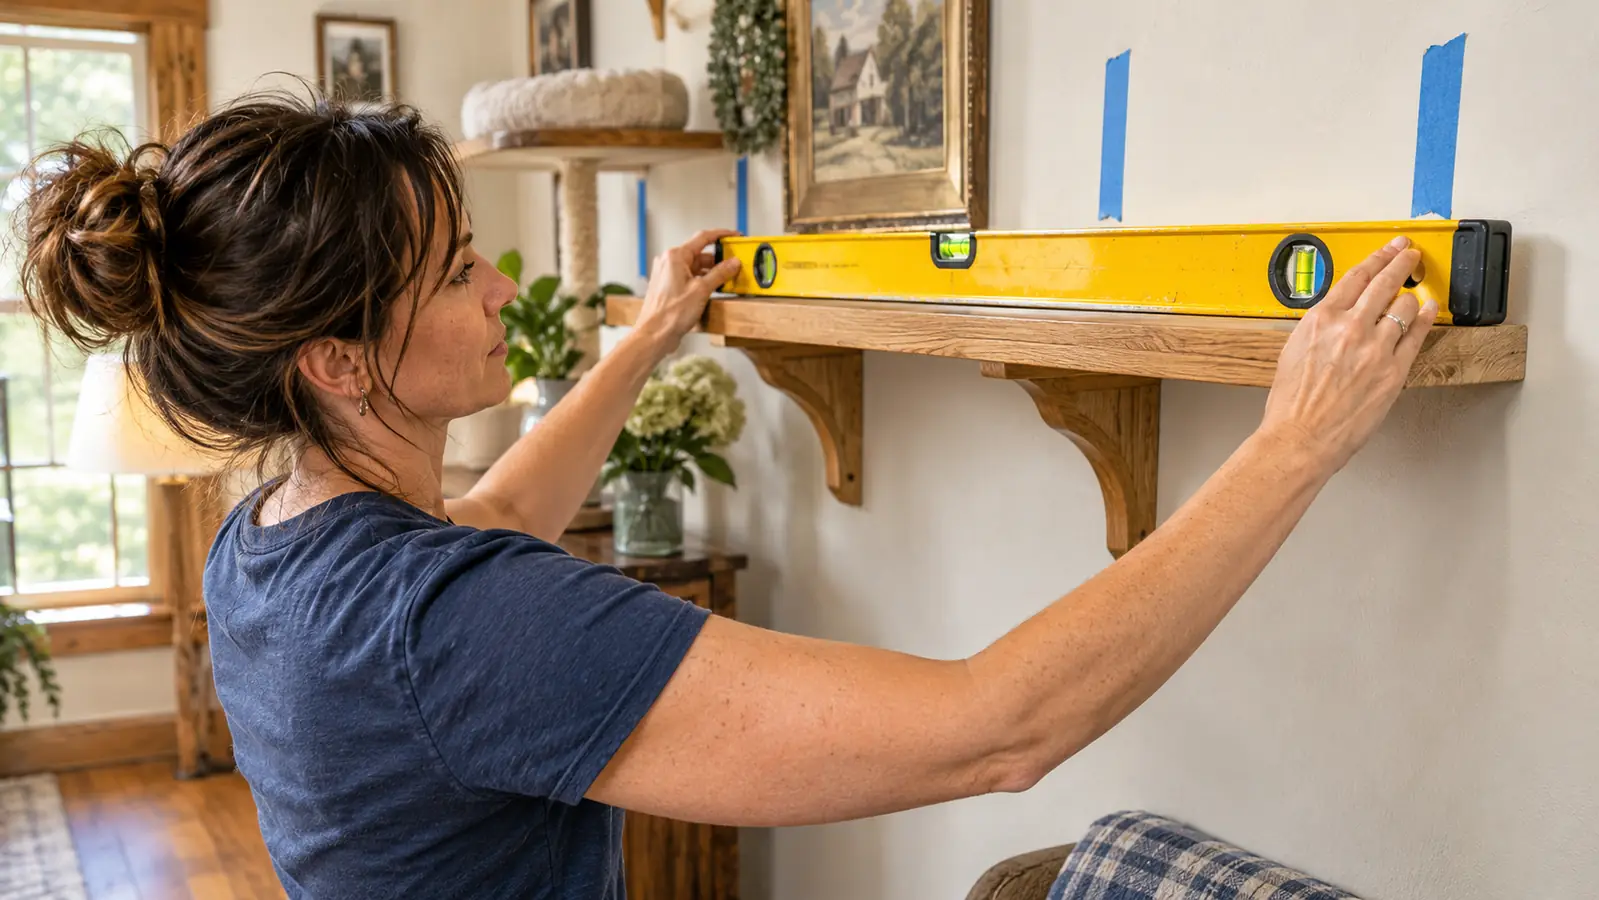
Mounting a cat shelf on the wall of an old farmhouse is not the same job as mounting one in a house built last year. Ray and I have been working through this house room by room for a long time now, and the walls have taught us both some manners. The front of the house is plaster over lath, thick and crumbly in places, and a stud finder there mostly offers an opinion. The back addition, where the den is, is ordinary drywall on standard framing. That difference is what decided where our FUKUMARU cat wall shelves went in April 2026. They are on the long drywall wall of the den, into studs on 16 inch centers, and they have not shifted since. This is the sequence we used, in the order we used it, including the parts that would have gone faster if we had done them first.
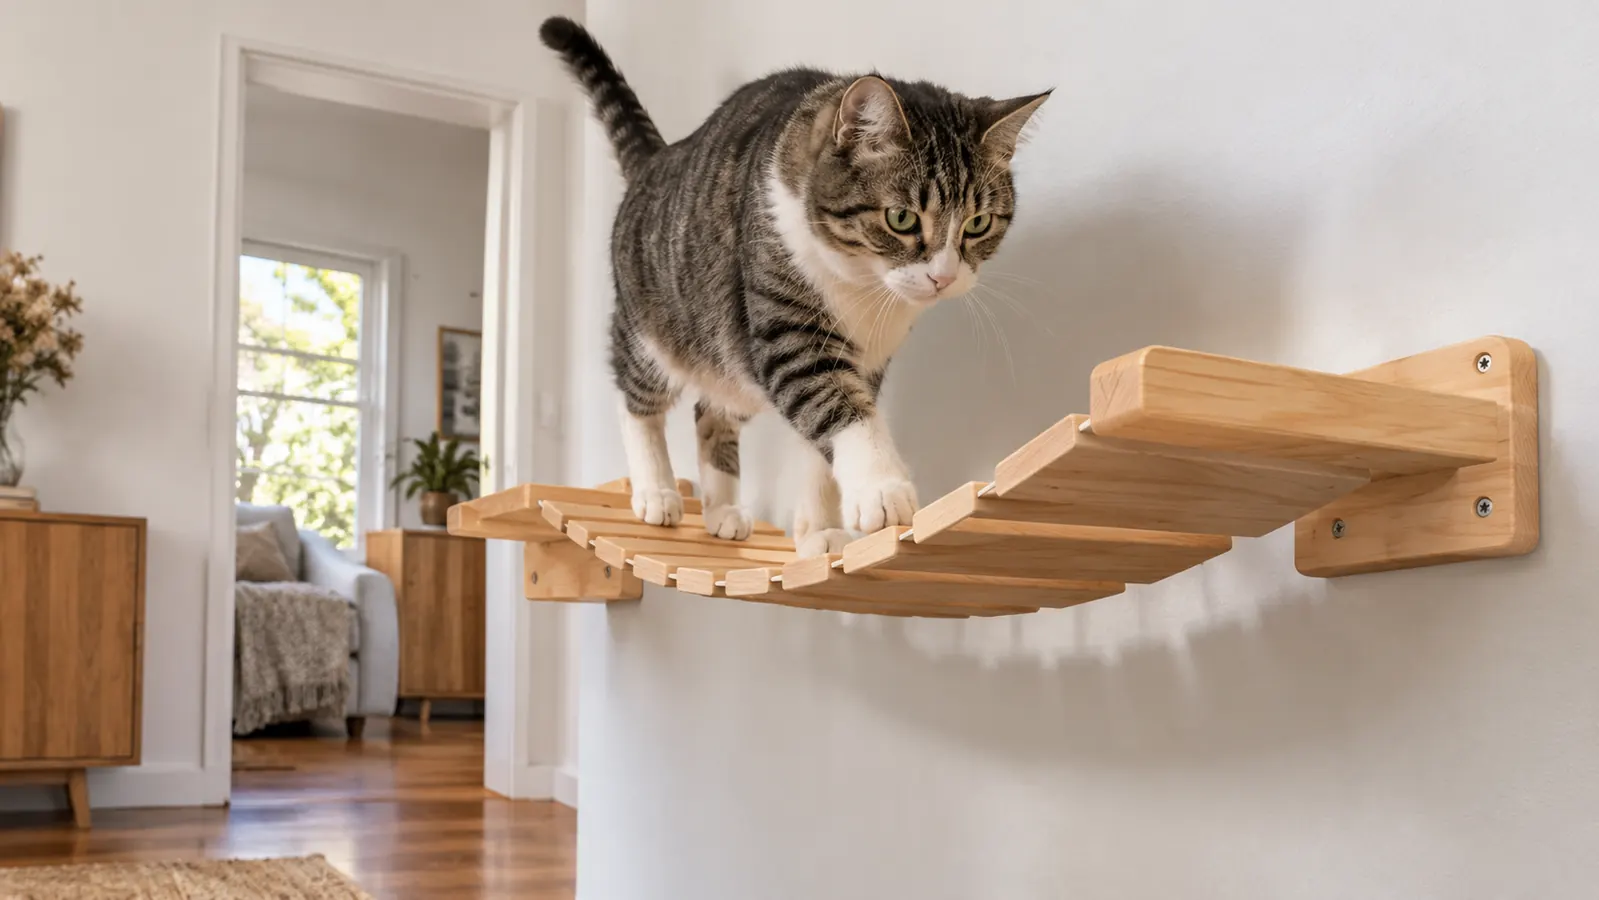
The set itself is four pieces that go up separately: a bridge, a wall bed, a scratching post and a shelf, listed as four levels. The listing gives the overall footprint as 28.2 inches long by 10.5 wide by 37.5 high, and the whole thing at 7 kilograms, which is about 15 and a half pounds. The materials are engineered wood, jute and polyester. It ships with an instruction manual and a one year warranty, and the listing says it is designed for US standard 16 inch drywall. It also says small and medium breeds, and that matters at our house, which I will get to. Nothing about the set is hard. It is just a job that rewards doing the boring parts first. Here is the order I would use again.
Four pieces, one Sunday morning, and a wall that stops moving
The set hanging in our den is the FUKUMARU 4 in 1: bridge, wall bed, scratching post and shelf, each mounted on its own. If your walls are as opinionated as ours, read the measurements twice before you pick up a drill.
Amazon Check Today's Price on Amazon →Step 1: Choose the wall by how you live, not by how it looks
Our den has one long wall that gets morning light and one that faces the woodstove. The woodstove wall was tempting, because the shelves would have been visible from the kitchen. We ruled it out because the cat tree already sits in that corner, and the wall set would have landed about four feet from a five level tower. That is an invitation to a jump nobody can land. The listing is clear that these are separate mounts rather than one continuous unit, and a cat launching off a tower onto a wall bed is landing on hardware that was never asked to take that load.
The second thing to check is the landing zone. A cat coming off a wall shelf at speed needs floor, not a coffee table with a lamp on it. On our long wall the drop is onto oak floor with a clear run to the hallway, and that is exactly where June uses the set, usually at a dead run around seven in the evening when the light goes gold.
The third thing is what is behind the wall. On the old side of this house Ray opened a small hole behind a baseboard years ago and found lath, plaster, and abandoned knob and tube wiring still in place. That is not a wall I would put a drill into without an electrician looking at it first. The drywall in the back addition is plain framing with modern wiring, and that is where the shelves went.
Step 2: Find the studs and mark each one twice
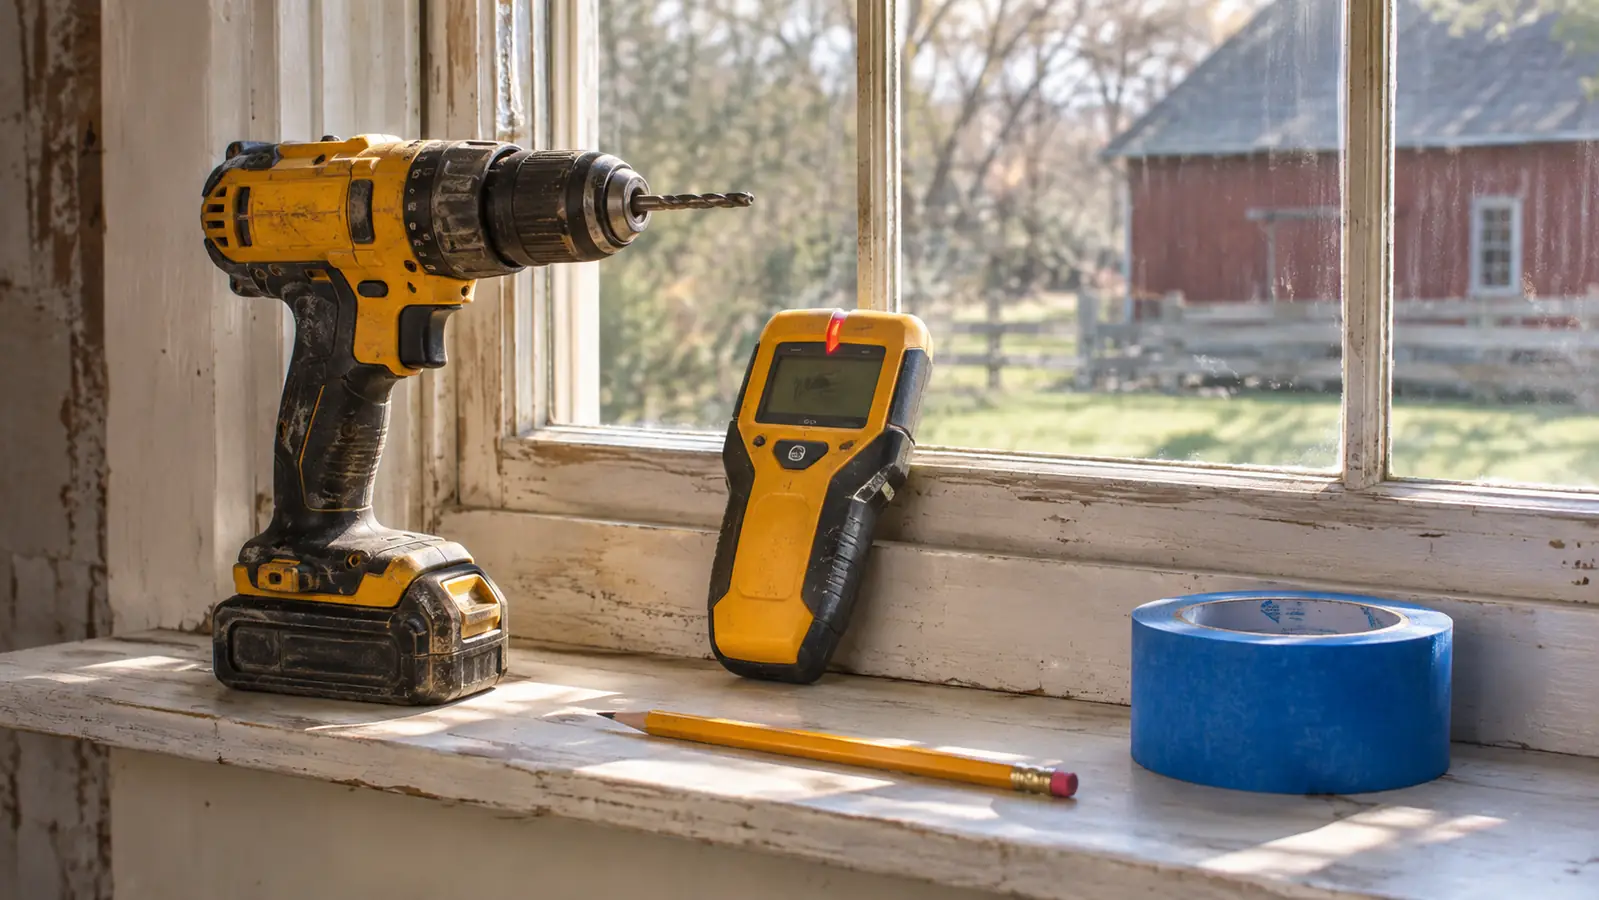
The listing says the set is designed for US standard 16 inch drywall, and that is the whole reason this step matters. Every piece wants a stud. A wall bed holding a cat is a lever, and drywall anchors hold things that hang, not things that get jumped onto. Ray ran a stud finder, then confirmed each mark with a thin finishing nail, then marked both edges of every stud with painter's tape so we could see the whole face of the wood instead of one ambiguous beep.
Framing in a house this age is not always on the centers you expect. One stud on our den wall was three quarters of an inch off from where the finder first suggested, and one section had a doubled stud because of a corner above it. Marking edges rather than centers meant we could slide a piece an inch or two and still land dead center on solid wood.
Then transfer the marks to the wall on a level line rather than measuring up from the floor. Our den floor slopes about half an inch across that wall. Measure up from a sloping floor and you get four pieces that look crooked when every one of them is bolted tight. If you take one thing from this guide, take that one.
Step 3: Lay all four pieces out before anything goes up
We did this on the den floor, on an old blanket, with the manual open. The manual is the only thing in the box besides the parts and the hardware, so it is worth two reads, one to sort the screws and one to plan the heights. Ray laid out the bridge, the wall bed, the scratching post and the shelf in the order we meant to hang them, and set the hardware in little piles beside each piece so nothing got swapped.
Planning the heights is the real work. A bridge wants to sit level with something a cat can step down onto, and a wall bed wants to be high enough to feel like a lookout and low enough that getting down is not a leap of faith. We set the shelf lowest, at about hip height for Ray, then the bridge, then the scratching post off to the side, then the wall bed highest. That arrangement is ours, not the manual's. The FUKUMARU manual gives you the pieces and the hole spacing; where they go on your wall is your call.
One thing we did that I would repeat: we taped a paper outline of each piece to the wall and left it there for two days. Four paper rectangles on a wall sounds fussy. It saved us from hanging the wall bed in a spot where June would have launched straight into the curtain rod.
Step 4: Mount one piece at a time and level each one against the last
Ray drilled and I held the level. We mounted the shelf first, because it is the smallest piece and it told us whether our stud marks were honest. Then the bridge, matched to the shelf with the level, then the scratching post, then the wall bed last. Doing them one at a time means every piece gets leveled against a piece that is already solid, instead of against a pencil line that may have drifted overnight.
The hardware in the box is fine for what it is, and I would not substitute it without a reason. Where a piece landed slightly off center on a stud we added a washer to take up the gap rather than cranking the screw down harder. Engineered wood will split if you insist.
A second pair of hands matters more than any tool in the drawer. A bridge is awkward to hold, level and mark at the same time, and the person on the step stool should not also be the person deciding whether the thing is straight.
Step 5: Load test it before a cat gets anywhere near it
We hung a bucket from each piece with about twenty pounds in it and left it for an hour. The listing gives 7 kilograms as the weight of the whole set, not a per piece load rating, so I am not going to quote a capacity I cannot back up. What I can tell you is that twenty pounds hanging off a piece set into a stud produced no creak, no gap at the wall, and no bracket movement, and that was the standard I wanted before June got on it.
Then check the screws again a week later. This house moves with the seasons, and the drywall in the back addition takes on a Georgia summer and dries out again in the fall. A quarter turn on three screws at the one week mark is the only adjustment we have made since April.
After that, let the cats decide. We did not put June on the shelves. We put a folded blanket in the wall bed and left the room. She found it the same evening and has treated the bridge as a racetrack ever since. Biscuit, who is fourteen pounds and nine years old, has not used the set at all, and that is not a fault in the product. The listing recommends small and medium breeds, and at his size and age I am not going to encourage him onto a wall bed, so he is never shown on it. He has the low platform on the cat tree and the windowsill perch in the dining room, and he is content with both.
What Else Helps
A four foot level beats a short one. A short level can read true on a piece that is out of level overall, and on a long wall that error compounds across four mounts. Ours is a four foot aluminum one Ray has had since the nineties, and it is the tool I would buy first if we did not already own it.
Beyond that: painter's tape for marking stud edges, a vacuum for the dust that will get into everything, a step stool that does not wobble, and a pencil instead of a pen. Keep a small magnet handy for finding the heads of old nails, which is sometimes the fastest way to confirm a stud in a plaster wall. And if your walls are plaster over lath, get a second opinion before the drill comes out. Plaster is unforgiving about a hole in the wrong place, and a patch never quite matches.
The plaster in the front of this house will hold a picture frame and not much else. The shelves went on the drywall in the back addition, into studs on 16 inch centers, and they have not moved since April.
The whole job took most of a Sunday morning, with two coffee breaks and one trip to the hardware store for a longer level. If you have a modern wall and a stud finder you trust, yours will go faster. If you have a farmhouse, budget the extra hour for the part where you learn your studs are not where anyone promised they would be. That hour is not wasted. It is the reason the shelves are still up.
The stud matters more than the shelf, and the shelf is the easy part
Four pieces, into studs on 16 inch centers, on the wall that gets the morning light. That is the whole setup in our den, and it has held since April.
Amazon Check Today's Price on Amazon →